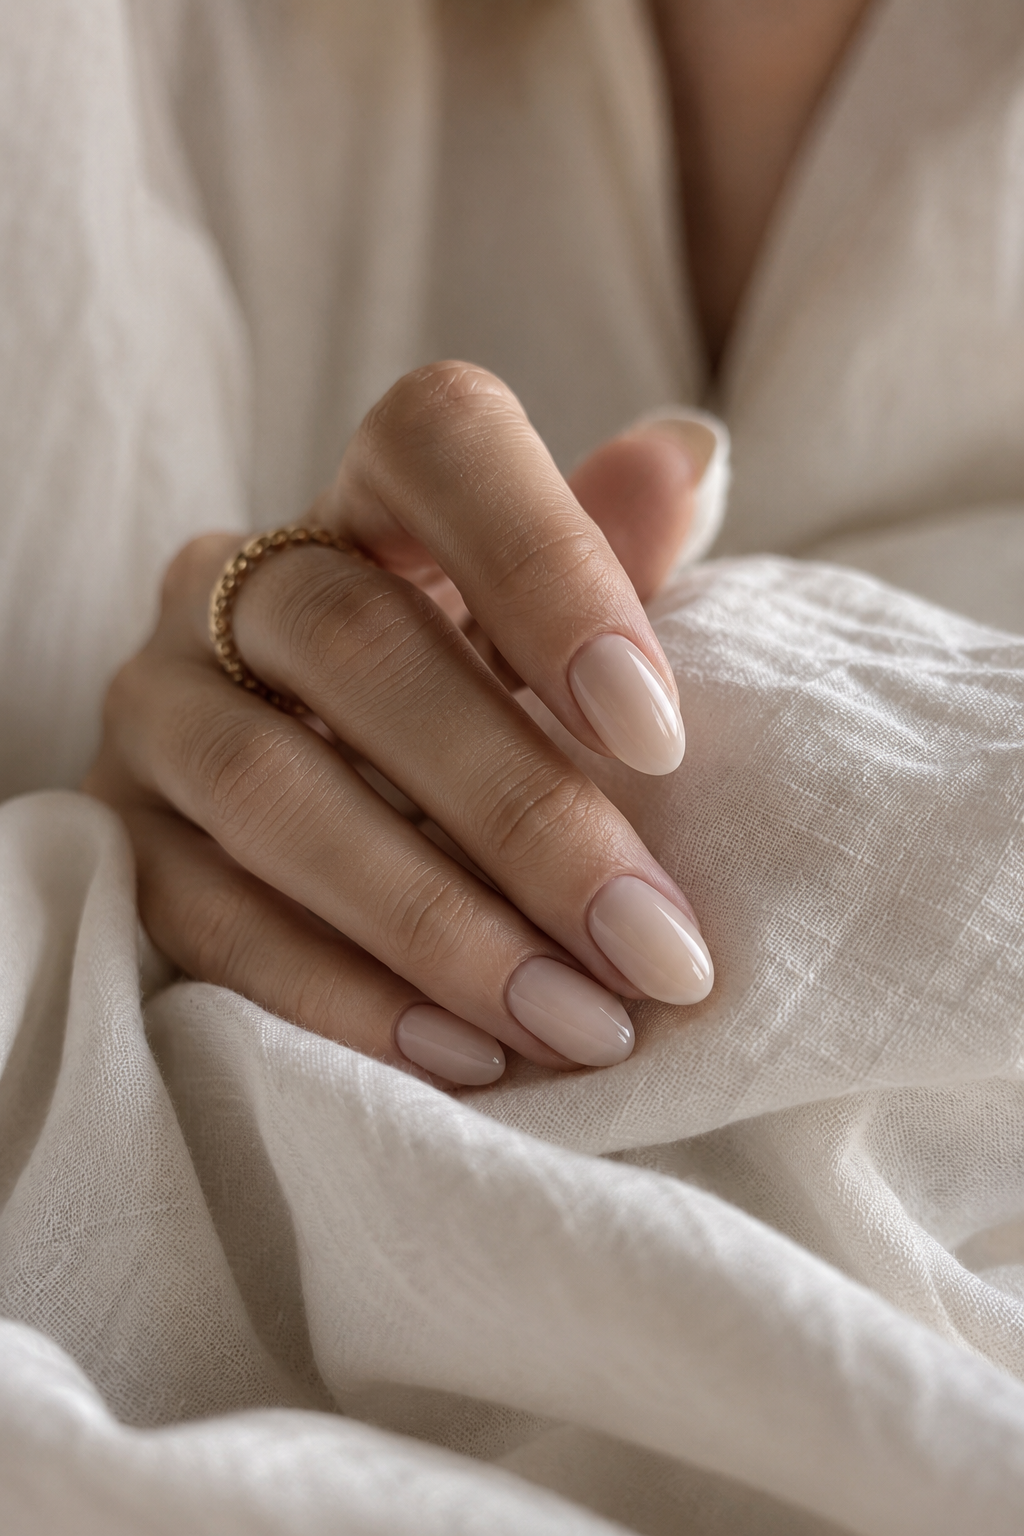
There is a particular kind of confidence that comes from glancing down at your hands and feeling entirely put together. For years, that feeling seemed to require a standing salon appointment, a generous budget, and a bit of luck with scheduling. Press-on nails were rarely part of that conversation — they felt like a shortcut, not a solution.
That has quietly changed.
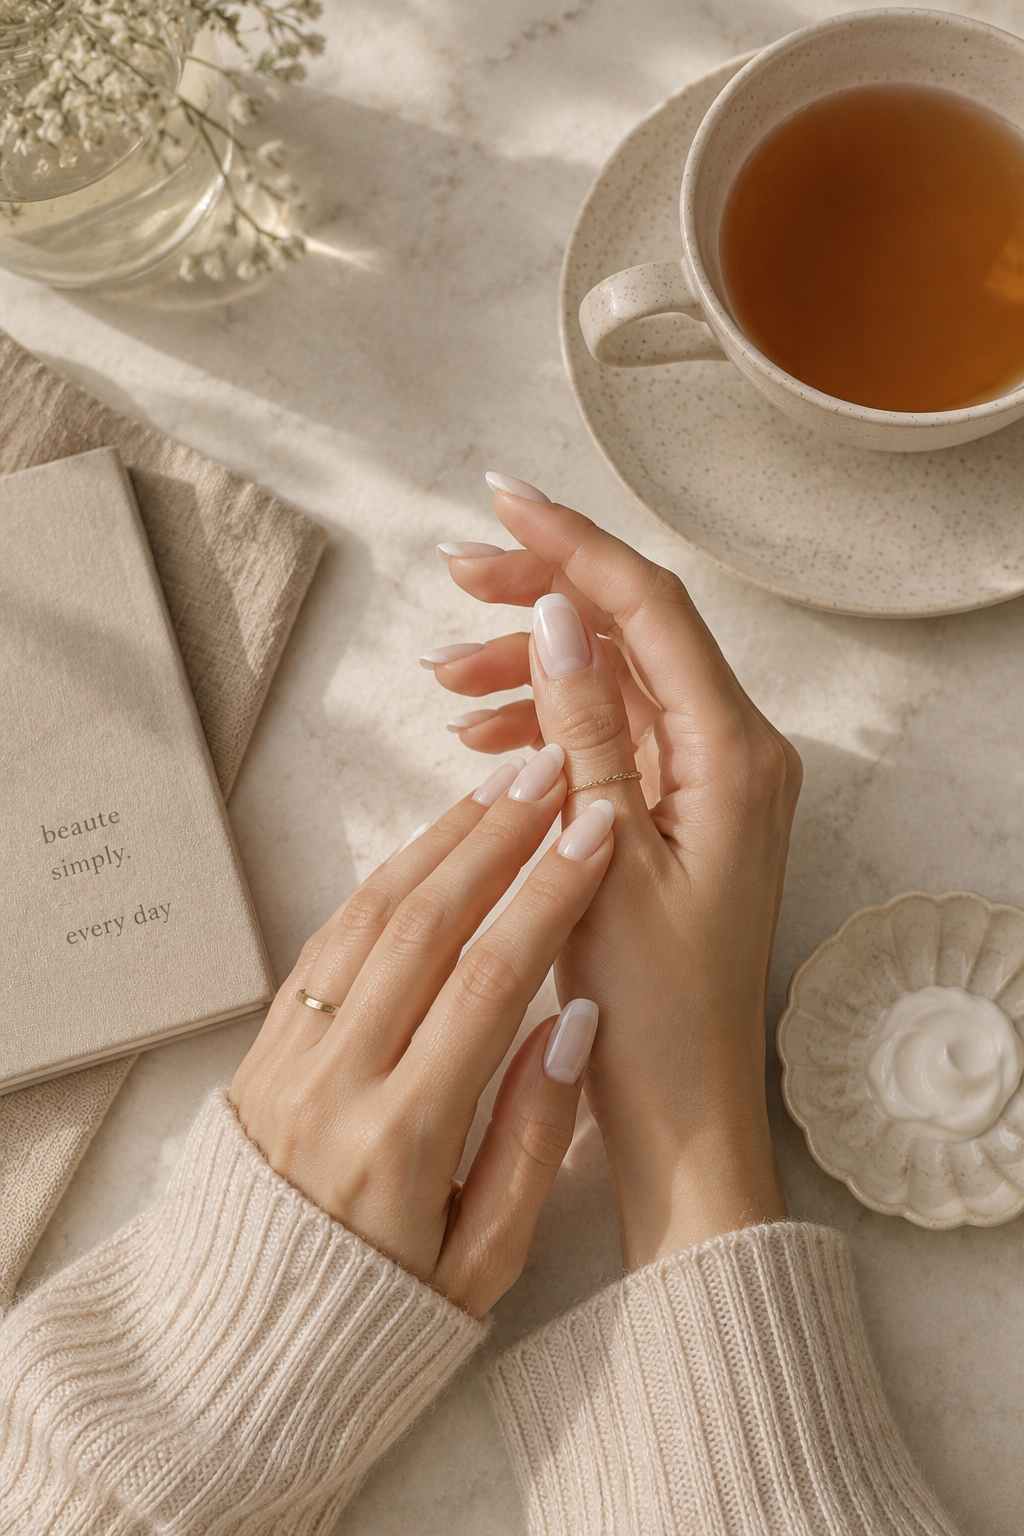
The best press-on nails available today can rival a professional manicure in shape, finish, and polish, without the salon visit or the wear on your natural nails. If you have been searching for a way to get a refined, elegant manicure at home, this guide will walk you through what to look for and which sets are worth keeping in your beauty drawer.
Why Press-Ons Deserve a Second Look
Press-on nails used to mean thick plastic tips, an unnatural curve, and a finish that read more costume than couture. That reputation has lingered longer than it should have.
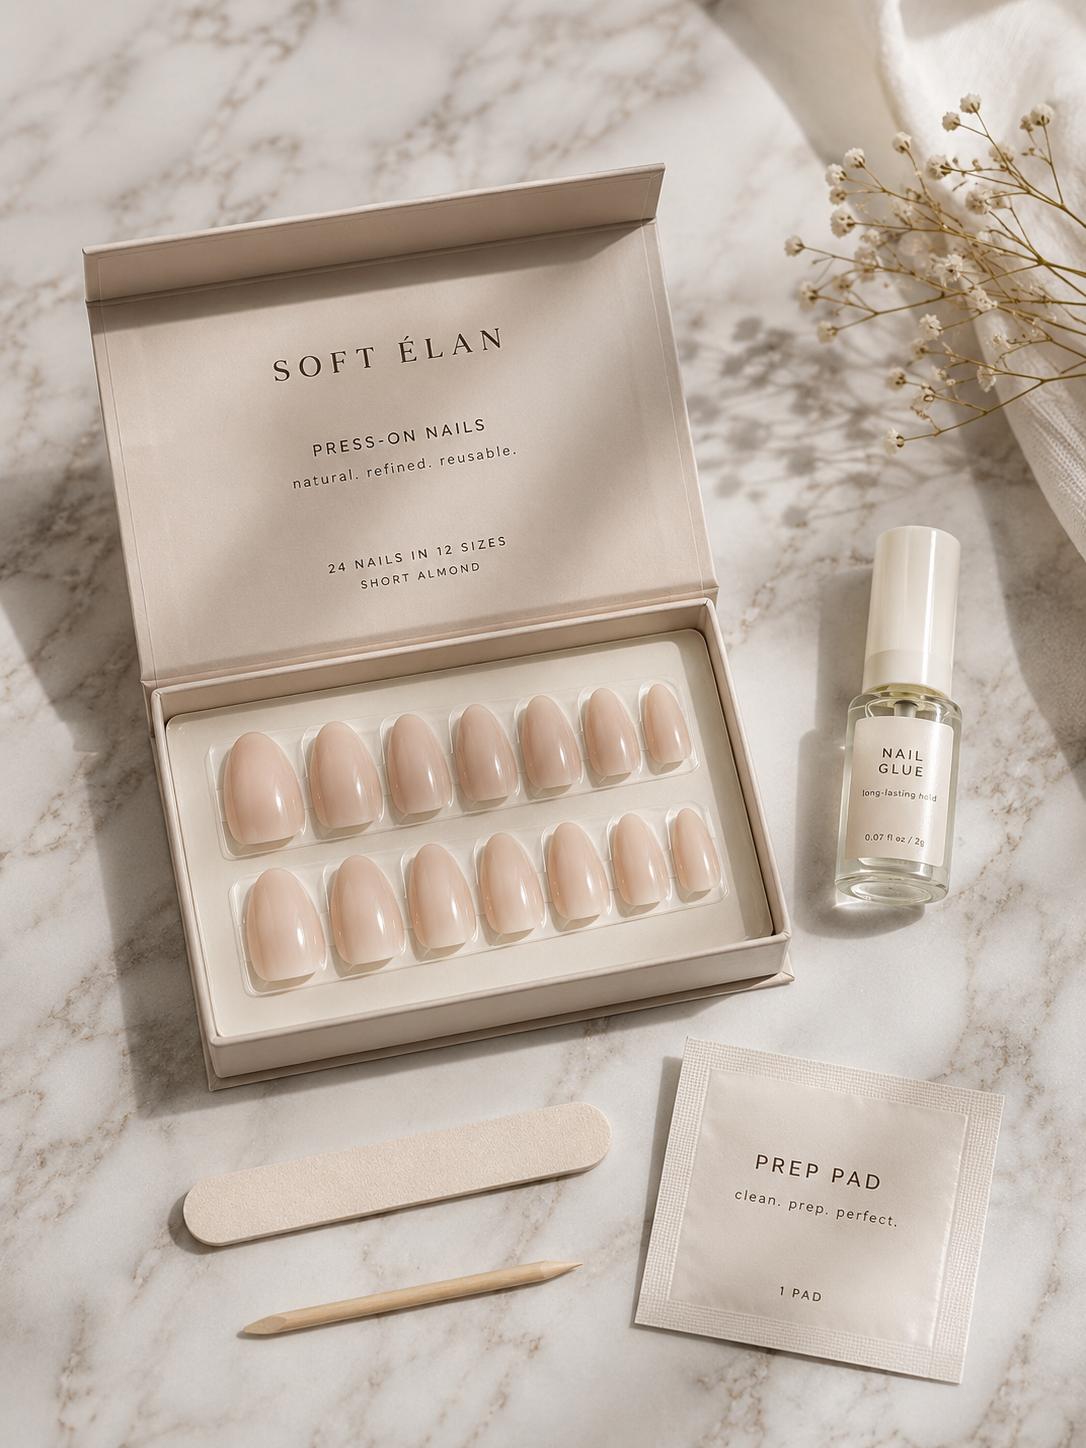
Modern formulations have narrowed the gap between press-ons and a professional gel set. Thinner materials, more accurate nail-bed shaping, and softer, more natural finishes have made a well-chosen press-on nearly indistinguishable from an in-salon manicure — at a fraction of the time and cost.
For anyone who values efficiency without wanting to sacrifice elegance, that shift matters. A polished manicure no longer has to be planned three weeks in advance.
What Makes a Press-On Set Look Expensive
Not every press-on set is created equal, and the difference between “obviously fake” and “quietly luxurious” usually comes down to a few details.
Shape, Finish, and Nail-Bed Proportion
The most flattering sets share three qualities:
- A natural curve. The nail should follow the gentle arch of your own nail bed rather than sitting flat or overly domed.
- A soft, low-shine or satin finish. High-gloss plastic shine is often what gives press-ons away. A finish closer to a fresh gel manicure feels far more elevated.
- Proportional length and shape. Short to medium almond or round shapes tend to look the most natural and wearable for everyday life, while longer coffin or stiletto shapes are better suited to special occasions.
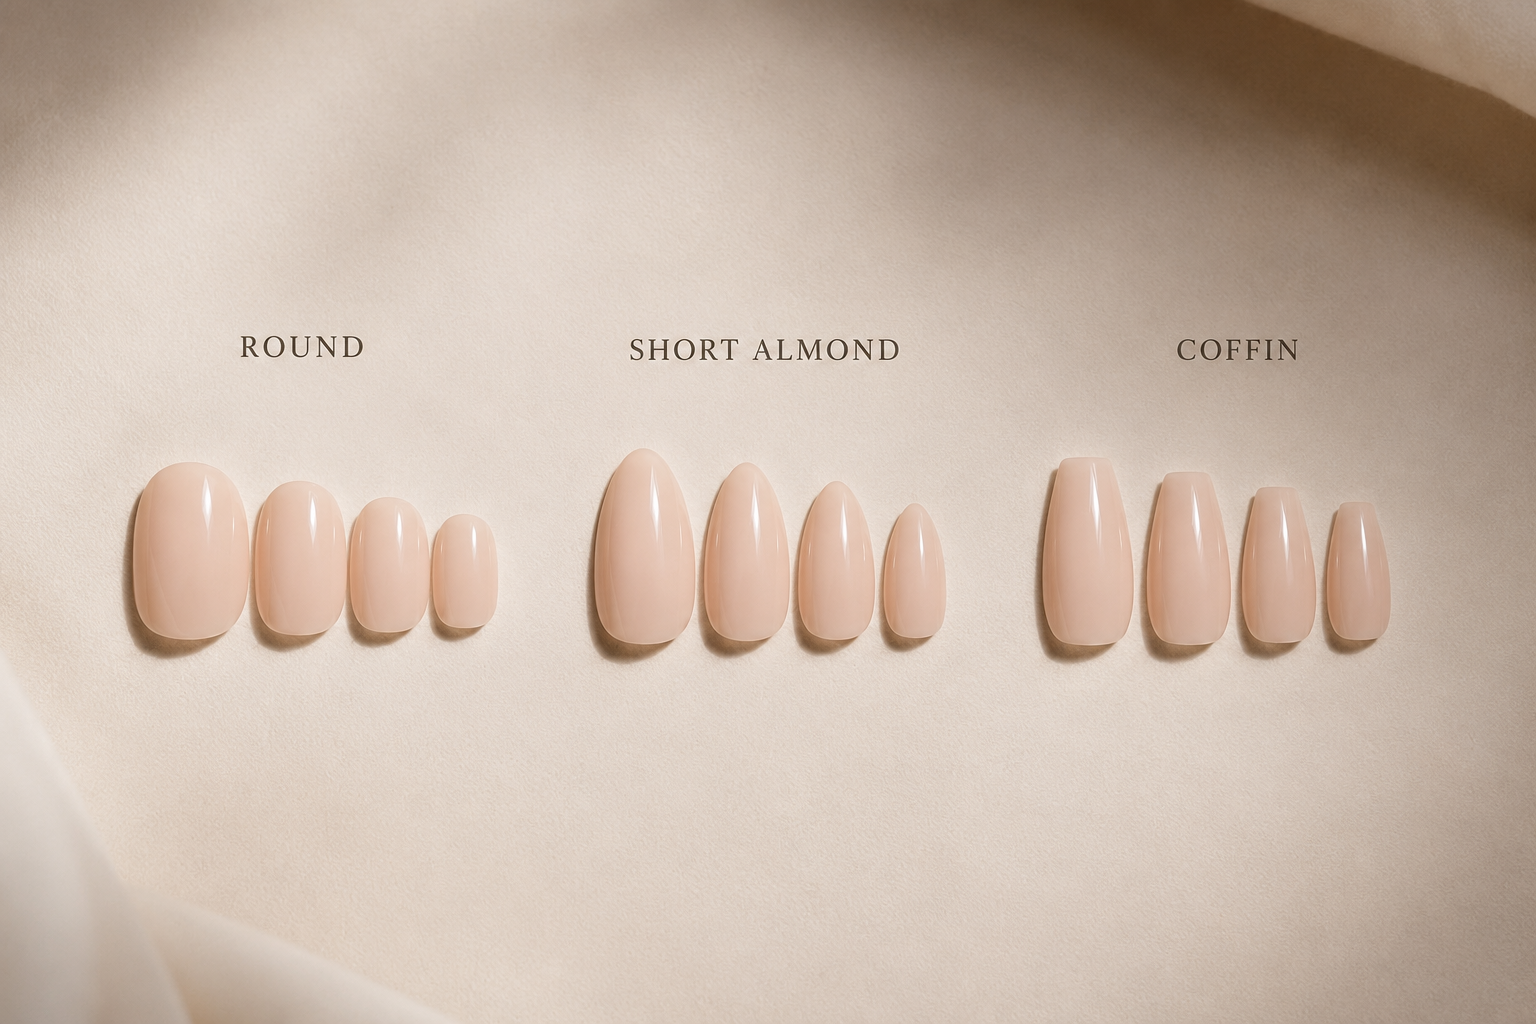
Soft Élan Note: When in doubt, choose a shorter length than you think you want. A beautifully shaped short nail almost always reads as more expensive than a long, dramatic one.
The Edit — Our Picks by Occasion
A thoughtful press-on collection covers more than one moment. Here is how we would build one, from quiet everyday elegance to a bridal-ready set.
Everyday Neutral Sets
For daily wear, look for milky nudes, soft pinks, and barely-there glosses — the kind of shades that read as healthy-looking hands rather than “done” nails.
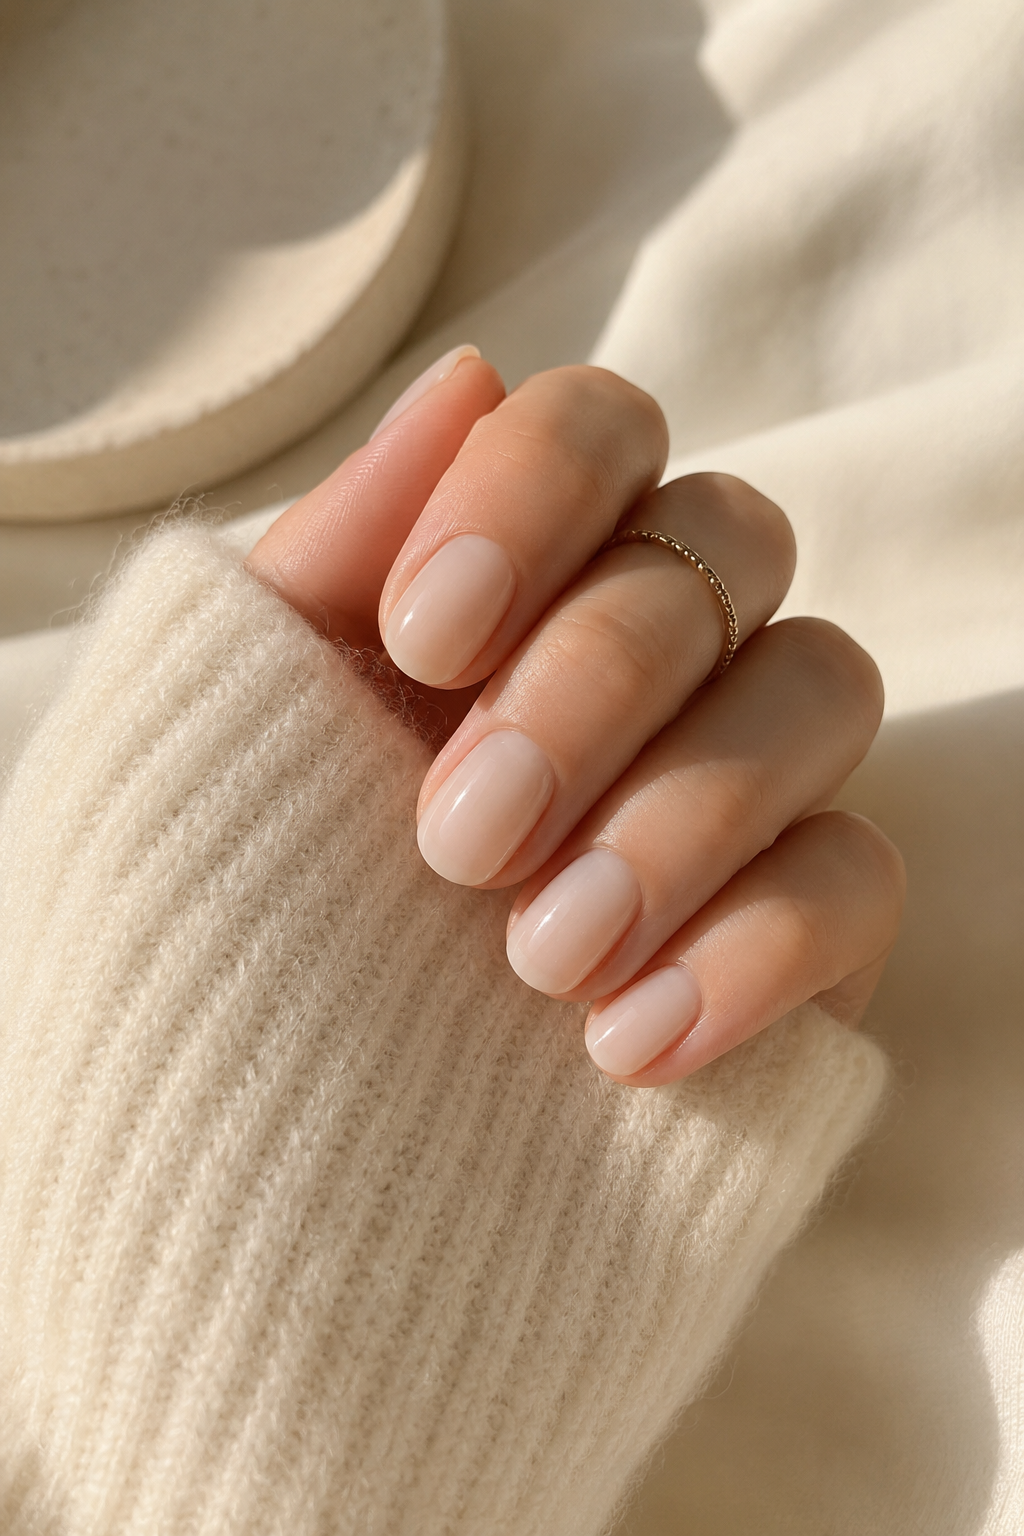
- [Static Nails – The Manicure in Milk Bath] — A sheer, milky finish with a natural almond shape. One of the most convincing natural-nail effects we have tried.
- [Dashing Diva Magic Press – Nude Glow] — A reliable, budget-friendly option with a soft satin finish and a gentle curve that sits close to the nail bed.
- [Kiss Gel Fantasy – Sheer Blush] — A slightly glossier take on the same idea, well suited to warmer skin tones.
Bridal and Event Sets
For weddings and formal occasions, timeless finishes outweigh trend-driven designs.
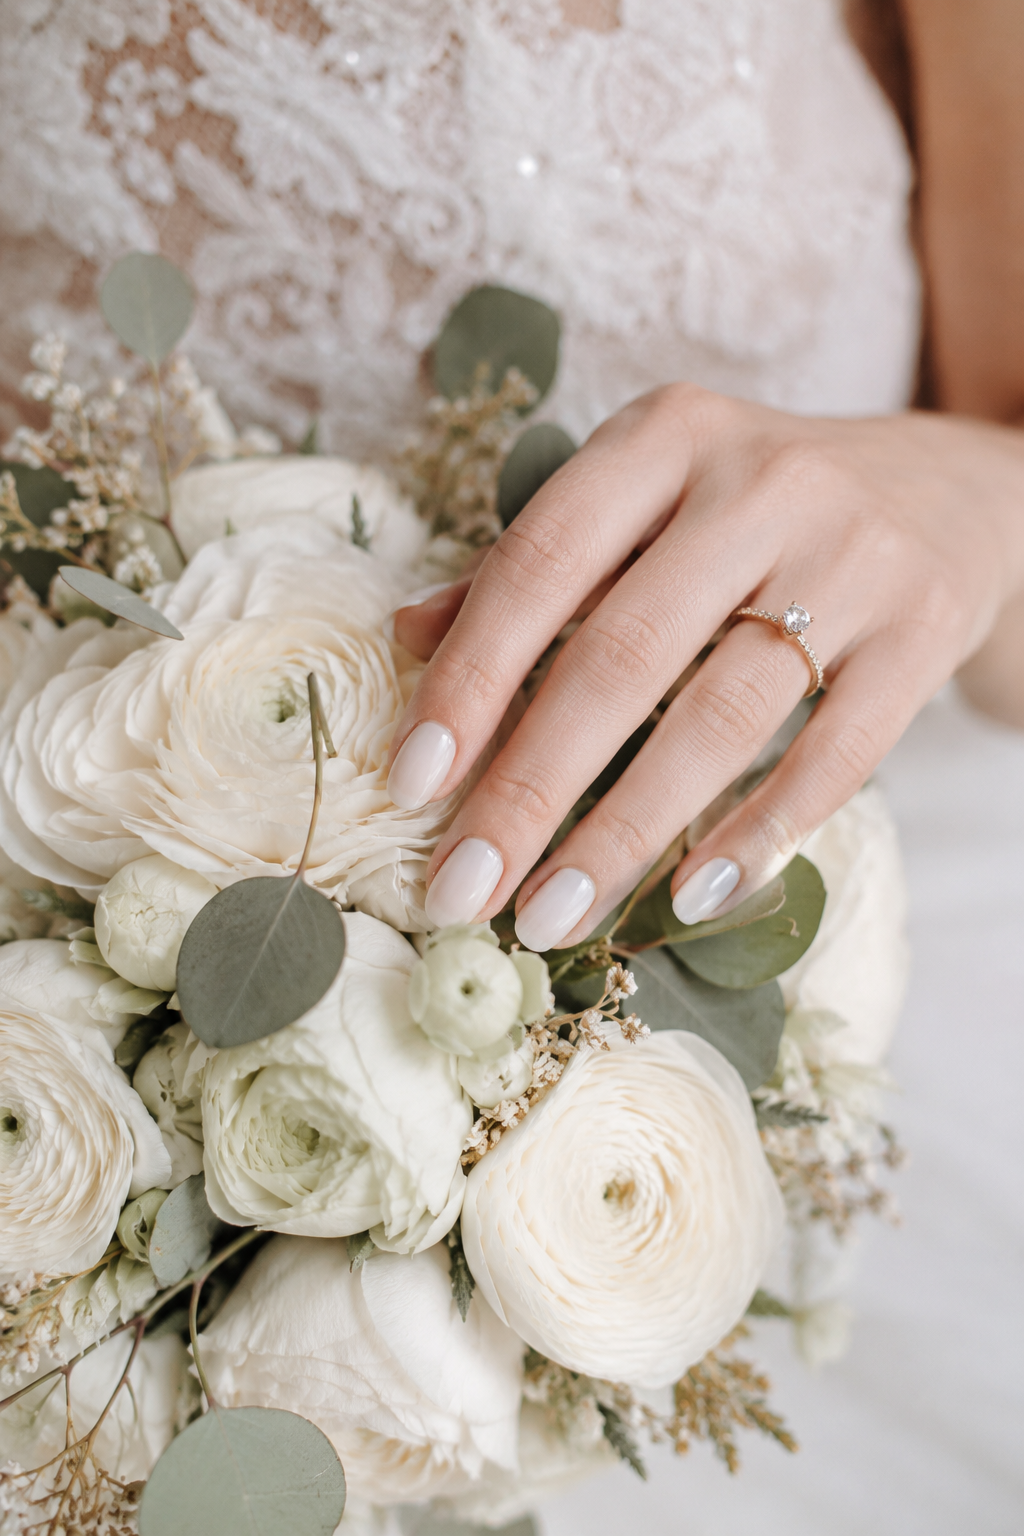
- [Elegant Touch – Polished Ivory] — A classic French-adjacent set with a refined, understated finish, ideal for brides who want their hands to photograph beautifully without competing with the dress.
- [Static Nails – Silk Wrap Almond] — A slightly longer almond shape with a satin finish, offering a touch more presence for evening events.
If you are planning ahead for a wedding, it is worth pairing your press-on choice with a broader nail care plan. Our bridal nail care timeline walks through exactly when to start preparing your natural nails.
How to Apply Them for a Natural Finish
A press-on set only looks expensive if it is applied with a little patience. A few small steps make a noticeable difference.
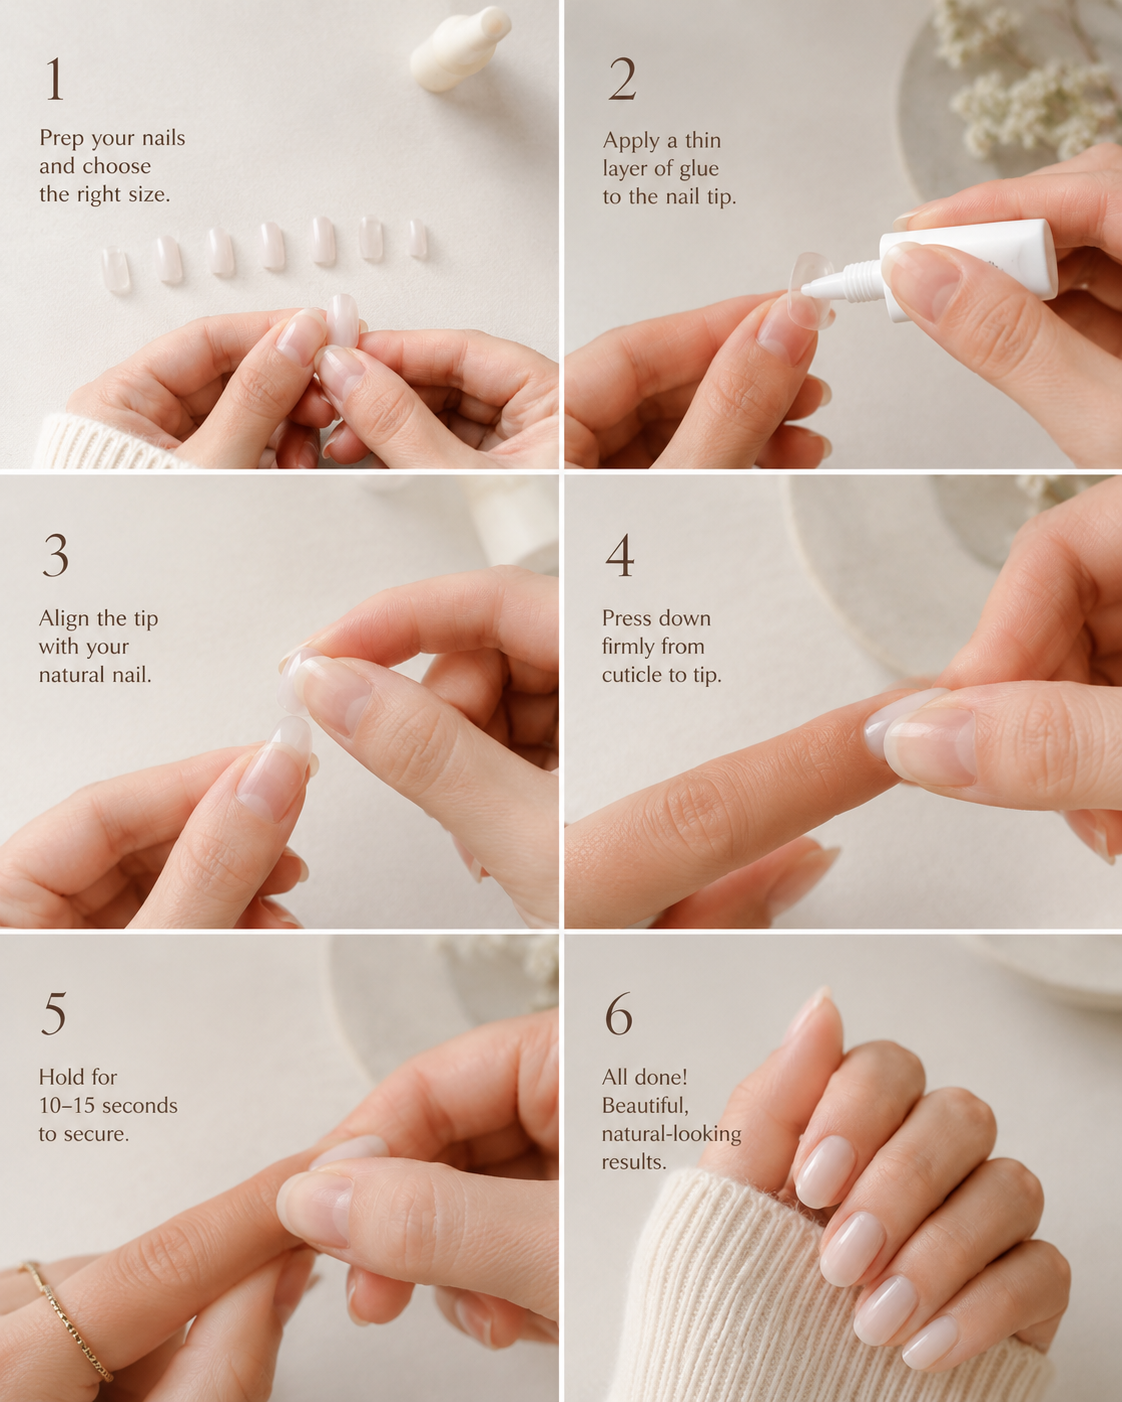
- Prep the nail bed. Push back cuticles, lightly buff the natural nail, and wipe with alcohol to remove any oil.
- Size before you stick. Lay the tips across your fingers before applying anything, and choose the closest match for each nail rather than assuming one size fits all.
- Apply adhesive to both surfaces. A thin layer of nail glue on the tip and a light coat on the natural nail creates a stronger, flatter bond.
- Press and hold at an angle. Starting at the cuticle line and rolling down toward the tip helps avoid trapped air bubbles.
- File to finish. A gentle shaping pass along the free edge softens any sharp corners and helps the set look custom-fitted.
Soft Élan Note: A cuticle oil applied nightly around the base of the nail keeps the surrounding skin looking healthy while your press-ons are on, which does more for the overall effect than people expect. Our guide to the best cuticle oils for healthy, elegant nails is a good place to start.
How to Remove Without Damaging Your Nails
Removing press-ons correctly matters just as much as applying them well. Rushing this step is where most nail damage happens.
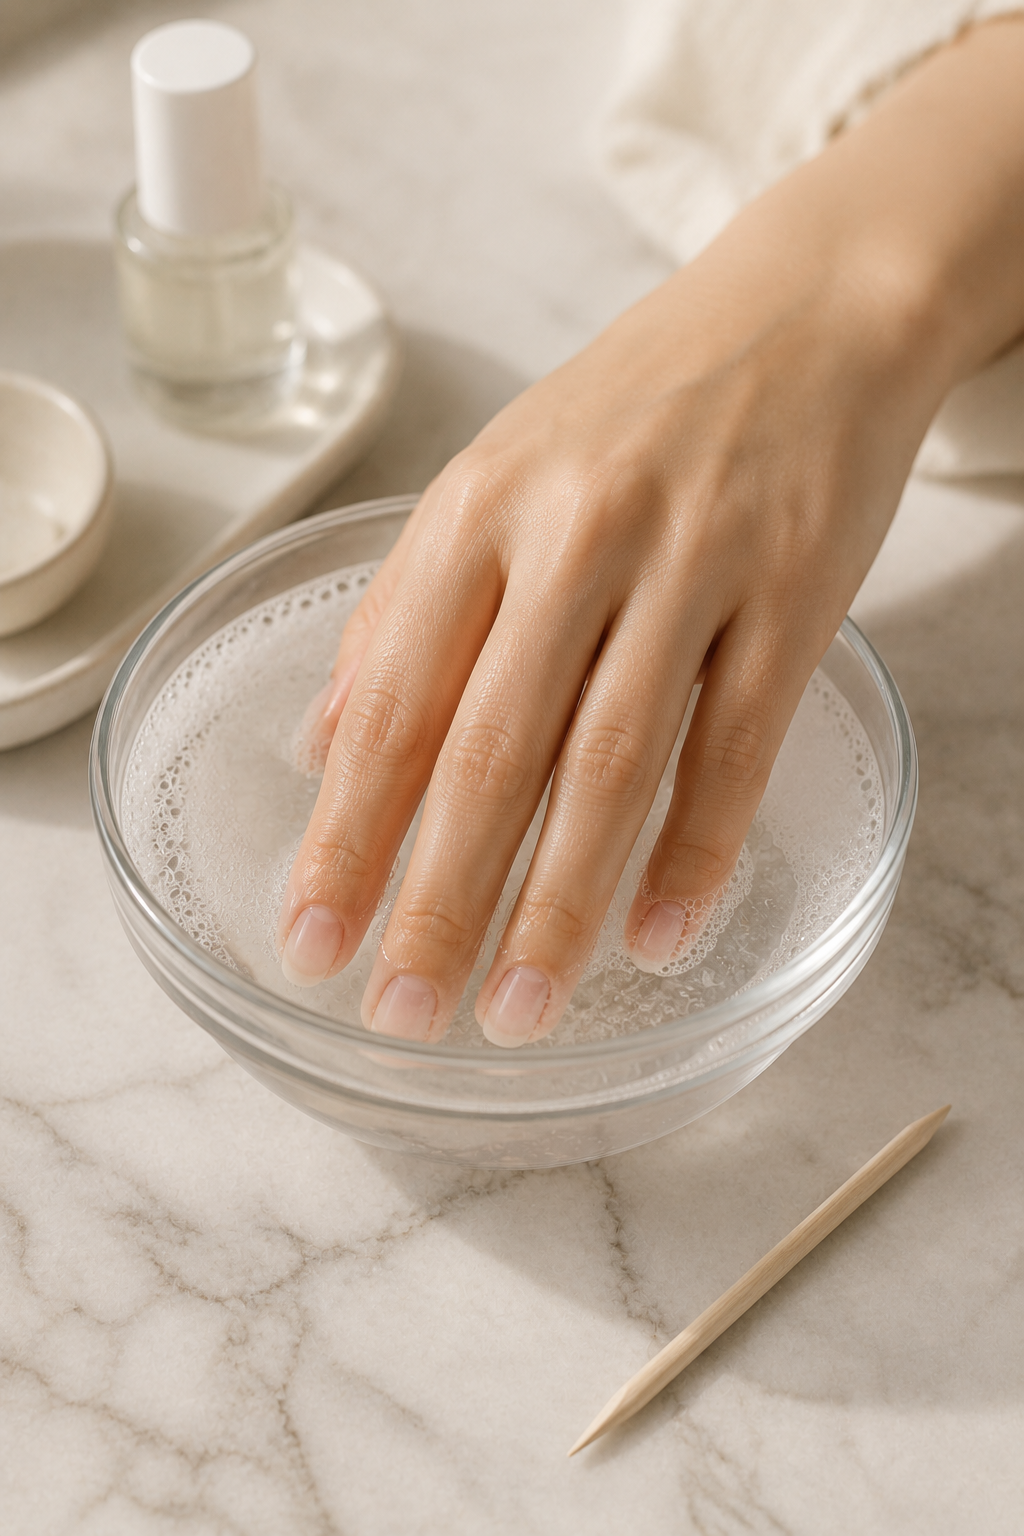
- Soak, do not pry. Submerge nails in warm, soapy water or a dedicated remover for several minutes before attempting to lift them.
- Use a cuticle stick, gently. Once loosened, a wooden or rubber-tipped stick should ease the tip away without force.
- Never peel from the base. Peeling can lift layers of the natural nail plate along with the adhesive, leading to thinning and breakage over time.
- Follow up with hydration. A rich hand cream and a nourishing oil help restore moisture the nail bed may have lost during wear.
If your removal process feels similar to lifting a gel manicure, that overlap is intentional — many of the same principles apply. Our guide on how to remove gel nails at home without damaging your nails offers additional technique notes worth reading before your first removal.
For anyone concerned about long-term nail health, it is worth noting that dermatology-backed guidance from sources such as the American Academy of Dermatology consistently points to slow, moisture-supported removal as the safest approach for any adhesive-based nail product.
A Few Thoughtful Habits, Not a New Routine
Press-ons were never meant to replace a manicure ritual — they simply give it more flexibility.
Used thoughtfully, with the right shape, a soft finish, and a gentle hand at application and removal, they can sit quietly alongside your existing nail care habits rather than working against them.
A well-chosen set, applied with a little patience, is enough to make your hands feel polished and effortlessly elegant — no salon chair required.
Frequently Asked Questions
Do press-on nails damage natural nails? Not inherently. Damage typically comes from improper removal, particularly peeling the set off rather than soaking it away. Applied and removed with care, press-ons are considered a gentler alternative to acrylics or hard gel extensions.
How long do press-on nails last? Most quality sets last between five and fourteen days with proper application, and some reusable sets can be worn multiple times if stored carefully after removal.
Can you reuse press-on nails? Many sets are designed to be reusable. Gently removing any leftover adhesive with a cuticle stick and storing the tips flat allows most sets to be worn several times before the shape begins to soften.